Interview with product designer Hiroshi Yasutomi

How did you arrive at the concept of designing a Speaker Ball?
I produced an active speaker prototype using monoFab. First I came up with a geometrical model, but I wanted to find out the potential of creating prototypes with the 3D printer and share them with those people who are considering 3D printers. That’s what made me think about the possibility of producing a speaker by incorporating an amplifier and speaker inside this geometrical form. Ideally, it would also be a design that shared the experience of enjoyment with this prototype.
What inspired your design?

There are infinite forms in nature and animals, and all of them are produced within the progress of evolution. There is always a reason behind a form, and many design hints can be found in models such as these. The geometric form I came up with for this project was likewise inspired by natural forms.
Can you describe the process of combining both additive and subtractive devices to produce the prototype?
The advantage of the 3D printer, as can be compared to the Industrial Revolution, is that it does not require a design to be carried out while thinking about production molds, and instead ideas can be brought to life exactly as they are. On the other hand, the advantage of the milling machine is that it has excellent cutting precision and can produce very intricate forms. With this sample production, I made the most of the respective strengths of the 3D printer and the milling machine, using them each as appropriate for the purpose and form.
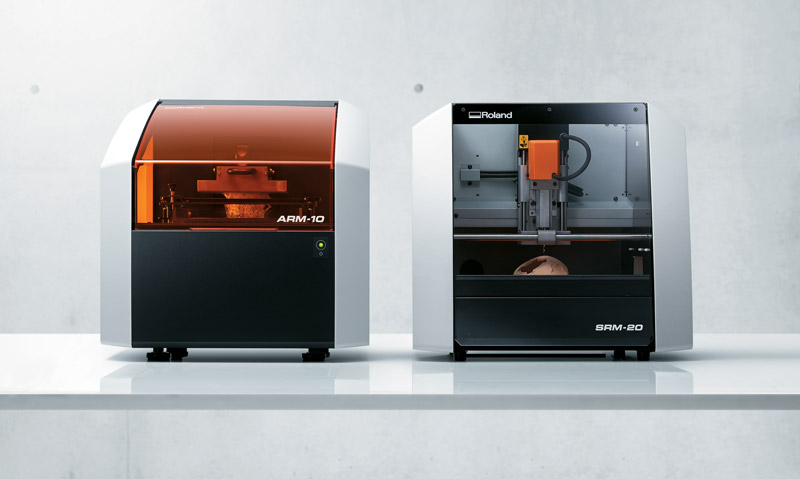
Specifically, I used the ARM-10 3D printer to produce the external parts since these shapes are complex. And it was easier to fine tune the design with a 3D printer. To produce these external parts with the milling machine, a part needed to be divided into more than one piece to mill, involving much time and effort. But with the 3D printer, even complex shape can be produced simply by outputting 3D data. Also, multiple parts can be modeled all at once within the working area, which drastically improves the efficiency of work. The materials become semi-transparent once hardened, so I made the most of that transparency for the external design.

I used the SRM-20 milling machine to model the cabinet for insertion of the amplifier circuit board and speaker unit. Milling precision as well as selecting the suitable material was required in order to mount the amplifier and speaker internally, and the precision of the fit would affect the speaker’s sound quality. Another advantage is the wide range of options for materials, from acrylics to woods. In this way, I took the approach of combining design and engineering by using a 3D printer for parts with a complex design priority and a milling machine for precision and flexibility of materials selection.
Any final thoughts you’d like to share?
It’s not really possible to share personal experiences through sketches or words alone. At times like that, the use of 3D printers or milling machines to give form to objects delivers something that can be touched by hand and truly experienced, which can then be used to check user-friendliness. It’s even possible to grasp structural inconsistencies at early stages that could not be seen in sketches. With monoFab and its two means of expression – printing and milling – I thought this would provide a powerful tool for creating personal experiences through prototyping, not only in design, but also in engineering.
